There’s never been a better time than now to enter into the world of music recording and production. A wide range of high-quality and affordable audio interfaces are readily available, making it easier than ever to get up and running in a home studio environment. The Scarlett 2i2 is a great example: this popular small-format audio interface provides two input channels with built-in mic preamps, a high-speed USB connection to your computer, and the ability to connect a pair of studio monitors and a set of headphones and adjust their respective output levels for listening to playback. This feature set is typical of many two-channel interfaces on the market.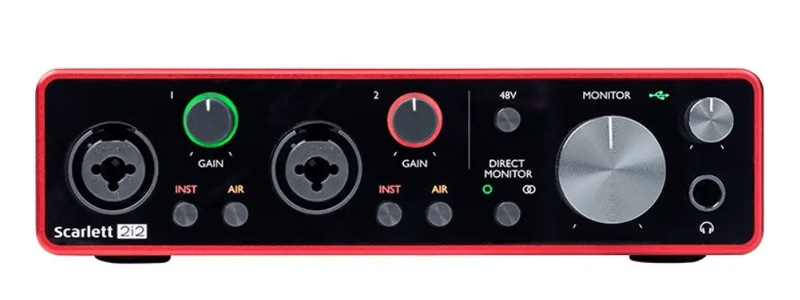 With powerful recording tools like these now at the fingertips of so many new artists and engineers, it’s also a great time to dive into the recording and mixing technique known as Reamping. If you’re reading this article you likely already have an idea of what Reamping is, but here’s a quick recap: It involves taking any prerecorded audio track and feeding it back through guitar pedals and amplifiers so you can experiment with new settings and effects that augment the original track. The process usually begins by connecting a line-level output from your audio interface to a dedicated Reamp® device. But when we take a look at the rear panel of the 2i2, a problem arises – only two line outputs are available, and these are most likely already connected to your studio monitors.
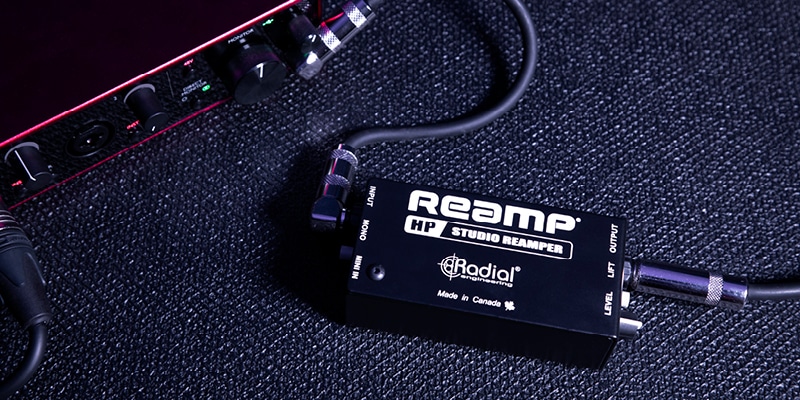
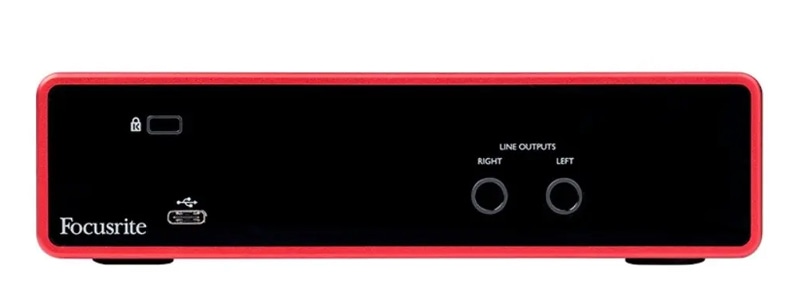 You probably aren’t interested in powering down your monitors and re-patching cables in the back of your interface every time you need to Reamp®, and we don’t blame you. Reamping is a creative technique that works best when you use it the moment inspiration strikes, so anything that slows down or impedes your workflow can hamper both the process and the final results. The Reamp® HP, one of Radial’s newest Reampers, addresses this problem in a unique way: instead of requiring a line-level output from your interface, it’s designed to accept the signal from a headphone jack. This leaves your monitor connections intact, while also making it easier than ever to set up for Reamping in just a few short minutes using the steps outlined below.
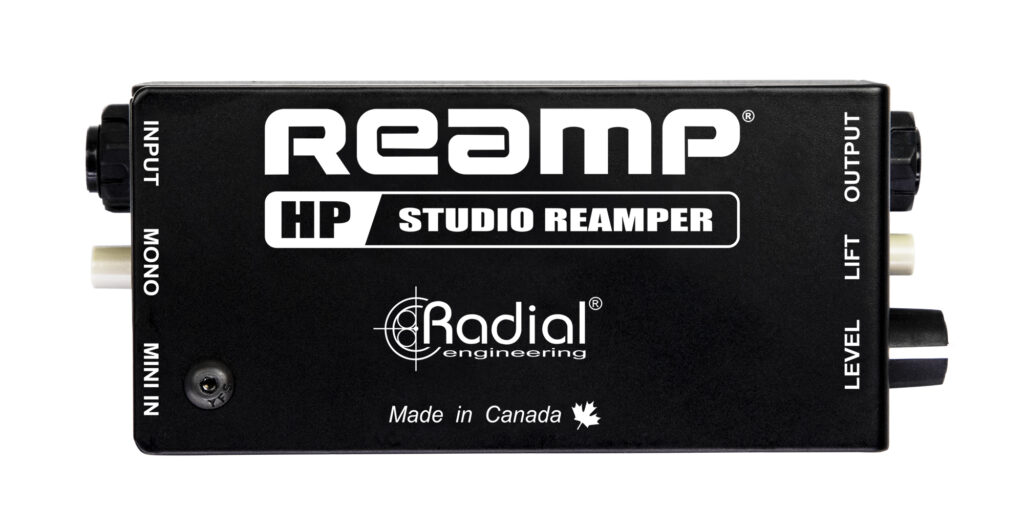

Step 1: Connect your cables
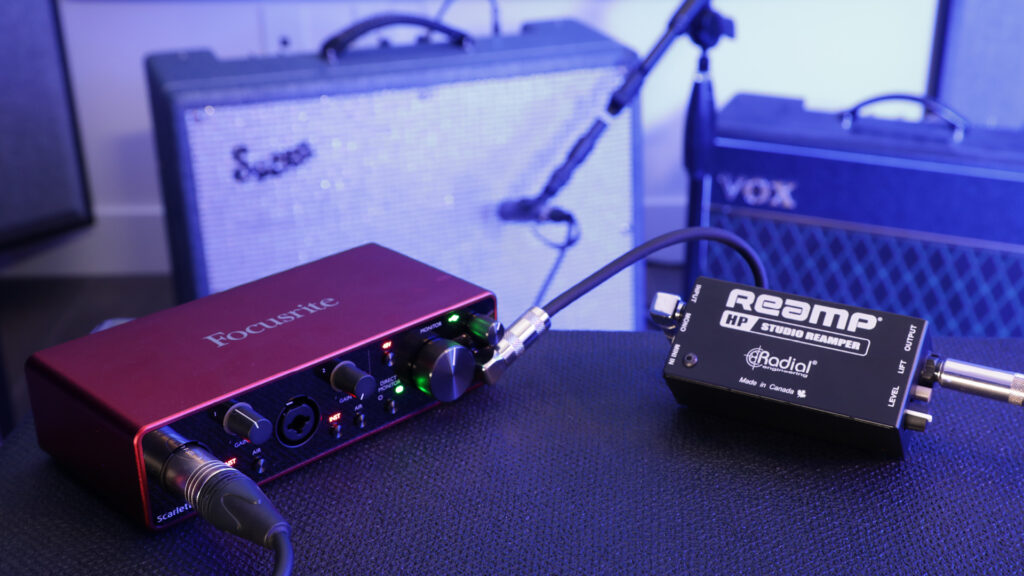
In its simplest form, Reamping only requires three cables: The first one connects your audio source to the Reamp® device, the second feeds the output of the Reamper into your guitar amplifier, and the third connects a microphone placed on the amp to your recording interface.For the Reamp® HP, you’ll need a 1/4″ TRS cable to connect from the headphone output on your audio interface to the input of the Reamper. 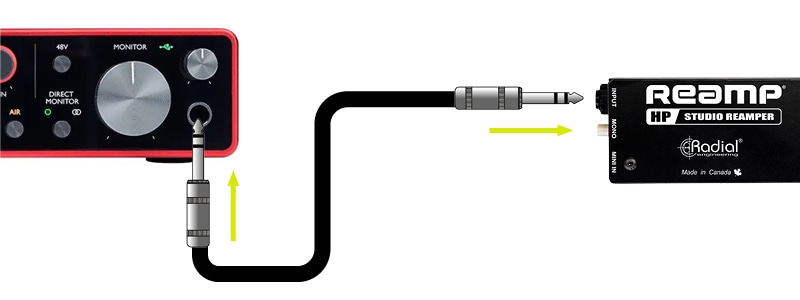 Then, the output from the Reamper to your guitar amplifier (and any guitar pedals if you choose to) uses a standard 1/4″ TS instrument cable.
 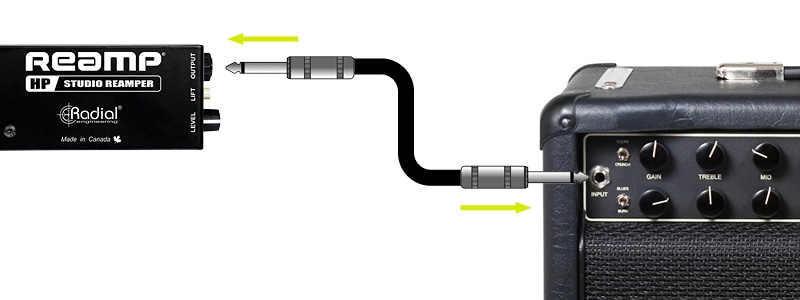 Finally, a balanced XLR mic cable connects the microphone you place on the amp back into one of the preamps on your recording interface.
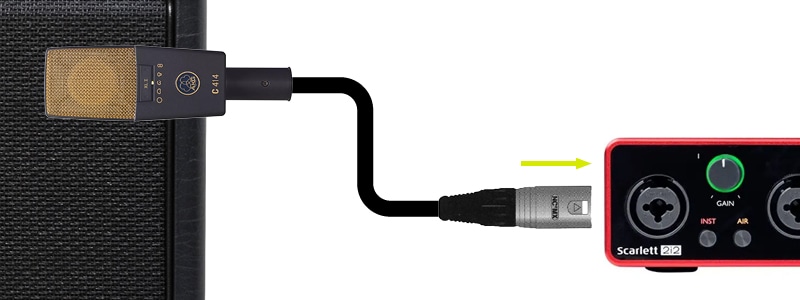
Step 2. Set up a source track and a record track in your DAW
Your source track is the audio signal that you want to feed back through your amplifier – this is typically a guitar or bass recorded through a direct box, but it can be any audio file you want, from vocals to drum tracks. Once you’ve selected your source track, solo it (so it will be the only audio feeding your headphone output) and assign it to the Right output channel of your audio interface. 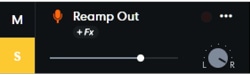 If you’re using a stereo source file, you can assign it to the stereo Left Right outputs of your interface and press the MONO button on the Reamp® HP to sum both channels equally into the Reamper.
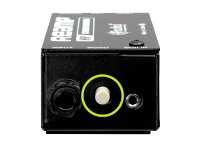 The record track will be used to capture the output of the microphone you place on the amplifier. Create a new mono track for this purpose and set the input to the channel on the interface that you’ve connected to your mic. Before you arm this track for recording, make sure to mute the track so it doesn’t feed your headphone outputs as well and cause a feedback loop.
Step 3: Adjust signal levels and experiment with your sound
The Reamp® HP can handle very hot input signal levels, so for optimal gain staging you will want to get as much output from your audio interface as possible before distortion. Turn up the fader on the source track until you see healthy levels on your meters, and turn the headphone output level on the interface up to 80 percent of the max volume. Before you begin playback, turn the LEVEL control on the Reamp® HP all the way down, then slowly bring it up once playback begins until you have the desired output from your amplifier. Finally, turn up the preamp on the input of your audio interface to achieve a good signal level on your record track.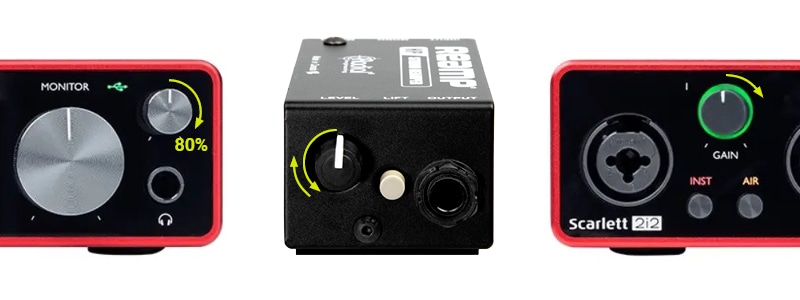 And with that, you’ve reached the best part of the Reamping process: experimenting with your sound and tweaking the results. Take your time and explore new pedal combinations, amp settings, and mic placement techniques to find the perfect sound that brings a new creative aspect to your mixes.