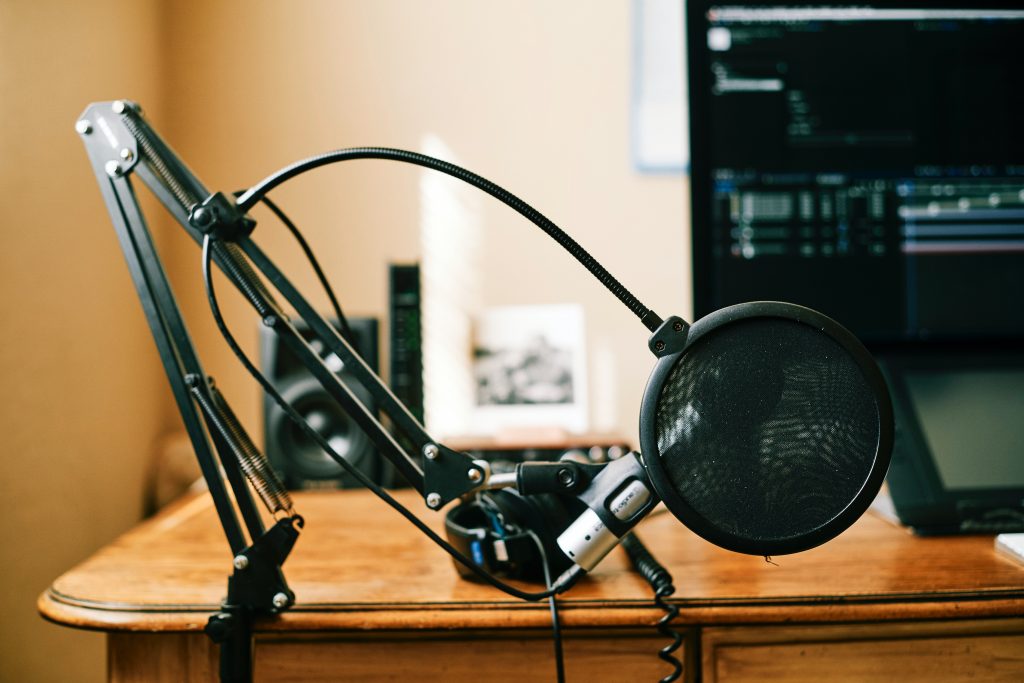
Podcasting continues to grow in popularity, with record numbers of new podcasts and episodes being created each month, along with ever-increasing numbers of listeners from casual users to avid podcast fans. Consequently, a common question we are asked nowadays is what essential gear is needed for first-time podcasters who are new to the format.
Getting Started with Optimizing Room Acoustics for Podcasting
While it would be great to have a professional recording studio available to create your podcast, few if any of us have that luxury. Thankfully, great podcasts are created everyday using a relatively small amount of equipment, and most are recorded in the homes and apartments of the podcasters themselves – Sure, there’s no interns to put on fresh pots of coffee, but you can happily record an episode in your pajamas without a second thought.
Choosing a Space
The first thing you’ll need to do is pick a space in your home where you’ll be recording your podcast (Technically you may want to start by choosing a topic and a name for your podcast, but you could always just do a stream-of-consciousness thing and figure the rest out afterwards, we won’t judge). The recording space you select is going to have the greatest impact on the sound of your podcast – more so than the microphone or the recording interface you choose – so consider this decision carefully.
Testing Room Acoustics
If your living space is large enough to have multiple options where you can setup your podcast, try speaking out loud in each location and listening carefully to how the sound of the room differs from one space to the next. Better yet, you can do a quick test recording of your voice in each room to compare the results. What you’re looking for is a space without excessive echo or reverb and little external noise. This means that you’ll want to avoid rooms with lots of flat reflective surfaces like tile floors, large windows, and bare walls, and instead look for a space with soft surfaces and sound-absorbing materials like couches, rugs, and heavy curtains. Don’t worry if your podcast recording space isn’t as dead-sounding as your bedroom closet, because the first thing on our list of essential equipment is acoustic treatment.
Using Acoustic Treatment
Many people think that acoustically treating a room means that you have to spend thousands of dollars on specialty construction or custom panels, or that you’ll need to cover every square inch of the walls and ceiling with squares of foam or worse, old egg cartons. Thankfully, neither of these is the case. Providing acoustic treatment for optimizing acoustics in your home podcasting setup can be both economical and minimally obtrusive, and you can achieve great leaps in the sound of your room with only a modest investment.
Acoustic Treatment for Podcasting
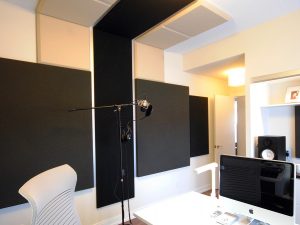
Primacoustic offers a line of London Room Kits that include everything you’ll need to improve the acoustics in your room for podcasting in one package, with a variety of high density absorbent acoustic panels and all the necessary mounting hardware for installation. A range of room kits are available so you can match the amount of panels to the size of your room, with the London 8 being suitable for rooms up to 100sq ft, all the way to the London 16 which can effectively treat a 200sq ft space to eliminate problems such as primary reflections, room ring, and excess reverb. These room kits are also renter-friendly, as all of the panels can be installed using 3M Command Strips attached to the mounting hardware, leaving no marks on the wall or holes to repair.

London Room Kit Acoustic Panels
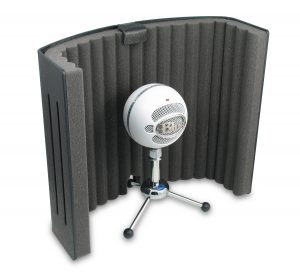
When it comes to optimizing room acoustics for podcasting, adding in acoustic treatment before you ever press record on your first podcast will pay dividends later on, as you’ll spend less time EQ’ing your voice track or fussing with noise-removal software to try and alleviate problems that are best addressed at the beginning with the room itself. However, if altering your space remains off-the-table, don’t worry as you’ve still got options! Portable solutions like the Primacoustic VoxGuard DT help to control the ambient space around a vocal mic and block external noise, while allowing you to easily stow it away when not in use.
Best Vocal Mic for Podcasting
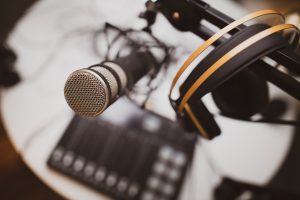
Once you have a treated room ready for recording, the next thing you need for your podcast is to select a vocal microphone. There is an incredibly wide array of options available, so this can seem like a daunting task, and discussing the merits of many popular mic choices is worthy of several blog posts on its own, so we will simply cut to the chase and tell you our favorite. The Shure SM7B is popular with not only podcasters, but also for radio and studio recording use, and it’s versatile enough to use on a guitar amp, snare drum, or a lead vocal track. This dynamic mic has a highly directional pattern that doesn’t pick up a lot of ambient sound, and it comes with a built-in foam windscreen to help with pops when speaking. While there plenty of worthy alternatives out there, this mic is a recording industry staple for a reason.
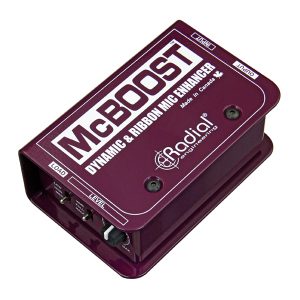
An excellent complement for any dynamic or ribbon microphone is the Radial McBoost, a class-A signal booster designed to connect in-line between your mic and a preamp or the inputs of your recording interface. The McBoost provides up to 26dB of squeaky-clean gain without distortion or coloration, allowing you record any microphone cleanly with plenty of detail, while maximizing your signal-to-noise ratio. A variable gain control allows you to fine-tune signal levels while sitting at your vocal microphone, and a three-position impedance switch gives you the option to try out different settings to see which one optimizes the response from your mic. Once you have it in your signal chain, you won’t want to go back.
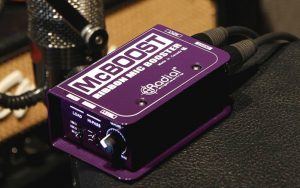
McBoost in action
Podcast Interface Options
Finally, you’ll need an interface to get from your audio equipment into your laptop or desktop computer to broadcast yourself to the world. Specifically, we’re talking about something with at least one balanced audio input, and a digital output like USB or Thunderbolt to connect to your computer. When considering which recording interface to buy, it may help to think about versatility – both for future projects or other audio applications that you already deal with on a regular basis.
If you are looking to start a podcast now, but your real goal is to incorporate this setup with a home recording studio where you can track various instruments or record a jam session with your roommate, that’s great news! All of the previous recommendations we’ve made will still serve you well, from acoustic treatment to mic selection. In this case, you’ll probably be in the market for an audio interface with at least a few microphone inputs, and keep in mind that having dual headphone outputs can also come in handy. Interfaces like these can range in price from a few hundred dollars to well over a thousand bucks, so make sure to make sure to review the feature set on the product before you buy to see if it provides enough inputs and outputs, or if it’s overkill for your needs.
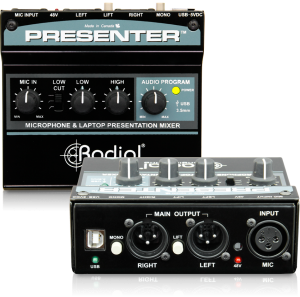
Radial Presenter
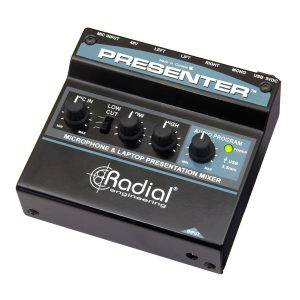
For a more streamlined and easy-to-use option, the Presenter is a compact USB interface that gives you the controls you need to start recording, without any plugins or drivers required – simply fire up your recording software of choice and start tracking. The Presenter is a single channel recording interface with a built-in microphone preamp and the ability to record high-quality audio over USB at sample rates up to 96kHz. Its small footprint fits on a desk next to your computer while taking up minimal space, and it also derives power over the USB connection, so there’s no need for additional power cables or wall-warts. An additional benefit of the Presenter is that it also works as a robust presentation mixer for live events, with dual XLR outputs to feed a pair of powered speakers and a 3.5mm input to easily connect mobile playback devices. This dual functionality makes the Presenter a useful addition to both your podcasting studio setup and your live sound gig bag.
While the formula for a successful and entertaining podcast still eludes us (Radial’s “D.I. another day” was unfortunately, a bust), the blueprint for an exceptional audio recording remains the same for podcasters as it is for home and pro recording studios alike: start with an acoustically treated space, capture your source with a high quality microphone, and apply appropriate gain-staging to maximize signal-to-noise throughout the recording chain. Keep these steps in mind and you’ll be well on your way to a great-sounding podcast.