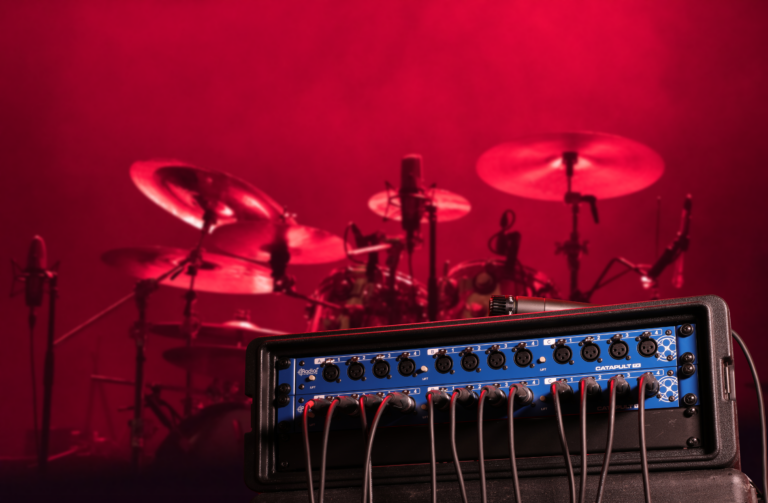
The following is written by Hugh Robjohns from Sound on Sound. See the Review Here
The sound from a DI or instrument input — whether a stand-alone one, or one built into a mic preamp or audio interface — typically requires some additional sound processing, such as amp modelling. While that’s now very easily achieved in the DAW, the problem remains of how to add that kind of appealing tonal colour without also introducing performance-wrecking latency to the monitoring, or when performing live. The simplest solution is to achieve the desired colour at source, rather than in the computer. And if miking an amp is impractical, a convenient alternative might be a DI box that can introduce the desired musical colour. That’s precisely what Radial offer in their new HDI — which they describe as a ‘High-Definition Studio Direct Box’ and say provides the functionality of a DI box and the musicality of a guitar amplifier.
Despite its name, the HDI certainly isn’t only a DI box for studio use; it could equally well be used on stage instead of a backline amp. The HDI ships as a stand‑alone desktop processor, but can also be rackmounted (occupying a 2U space) singly or in pairs, using rack ears and a joiner-plate. These are generously supplied with each unit, rather than as expensive accessories — a nice touch. There’s also a three-year warranty. It’s important to appreciate that the HDI’s structure is based on splitting the input signal into two. One is an ultra-clean and accurate direct path and the other a controllably distorted one. The outputs from these two signal paths can be combined for the desired amount and character of coloration at the final output.
Rearing Up
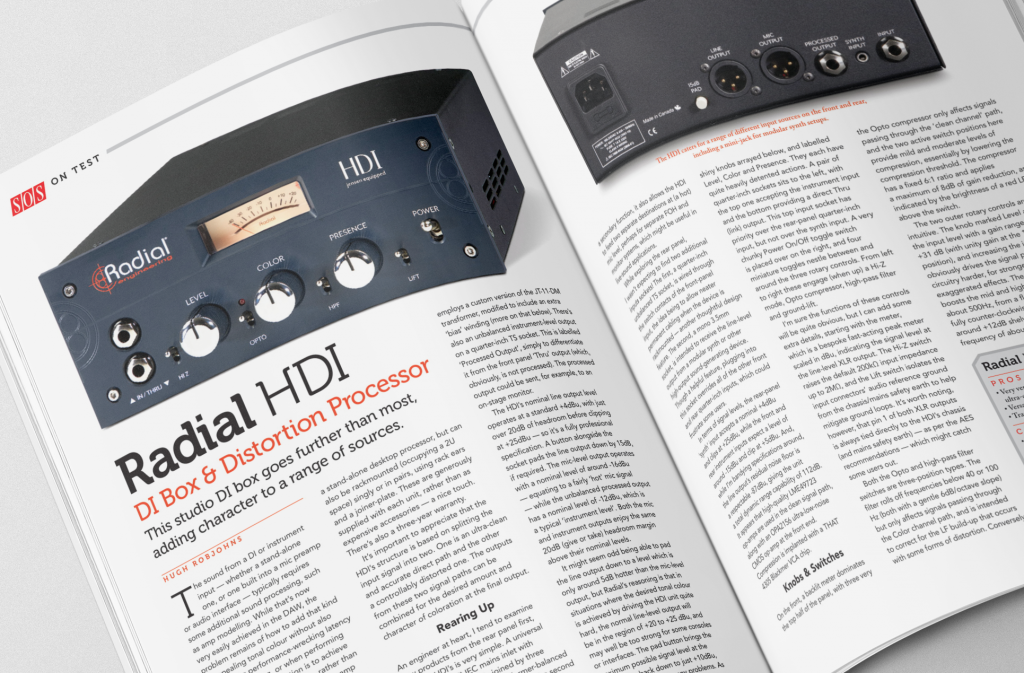
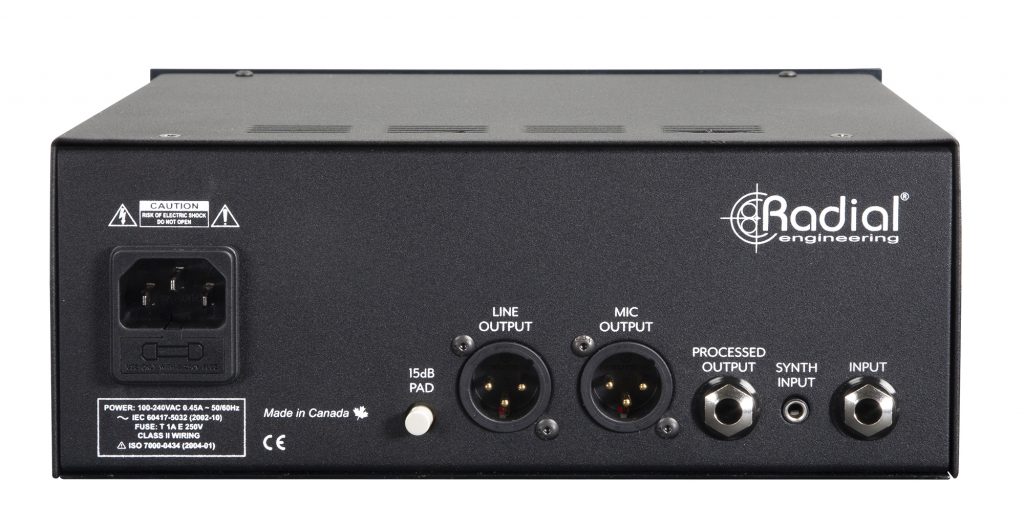
An engineer at heart, I tend to examine new products from the rear panel first, and the HDI’s is very simple. A universal (100-240 V AC) IEC mains inlet with integral fuse holder is joined by three outputs. The first is a transformer-balanced line-level output on an XLR, and the second a mic-level output — effectively a built-in DI in a line-level DI box — which is derived from the line output via a standard Jensen JT‑DB‑EPC transformer. The line output employs a custom version of the JT‑11‑DM transformer, modified to include an extra ‘bias’ winding (more on that below). There’s also an unbalanced instrument-level output on a quarter-inch TS socket. This is labelled ‘Processed Output’, simply to differentiate it from the front panel ‘Thru’ output (which, obviously, is not processed). The processed output could be sent, for example, to an on-stage monitor.
The HDI’s nominal line output level operates at a standard +4dBu, with just over 20dB of headroom before clipping at +25dBu — so it’s a fully professional specification. A button alongside the socket pads the line output down by 15dB, if required. The mic-level output operates with a nominal level of around -16dBu — equating to a fairly ‘hot’ mic signal — while the unbalanced processed output has a nominal level of -12dBu, which is a typical ‘instrument level’. Both the mic and instrument outputs enjoy the same 20dB (give or take) headroom margin above their nominal levels.
It might seem odd being able to pad the line output down to a level which is only around 5dB hotter than the mic-level output, but Radial’s reasoning is that in situations where the desired tonal colour is achieved by driving the HDI unit quite hard, the normal line-level output will be in the region of +20 to +25 dBu, and may well be too strong for some consoles or interfaces. The pad button brings the maximum possible signal level at the line output back down to just +10dBu, which shouldn’t cause any problems. As a secondary function, it also allows the HDI to feed two separate destinations at (a hot) mic level, perhaps for separate FOH and monitor systems, which might be useful in live-sound applications.
While exploring the rear panel, I wasn’t expecting to find two additional inputs sockets! The first, a quarter-inch unbalanced TS socket, is wired through the switch contacts of the front-panel input, the idea being to allow neater permanent cabling when the device is rackmounted — another thoughtful design feature. The second, a mono 3.5mm socket, is intended to receive the line-level output from a modular synth or other high-output sound-generating device. Though a helpful feature, plugging into this socket overrides all of the other front and rear quarter-inch inputs, which could frustrate some users.
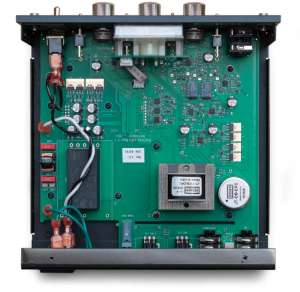
In terms of signal levels, the rear-panel ‘synth’ input accepts a nominal +4dBu and clips at +25dBu, while the front and rear instrument inputs expect a level of around -15dBu and clip at +5dBu. And, while I’m bandying specifications around, the line output’s residual noise floor is a respectable -87dBu, giving the unit a total dynamic range capability of 112dB. It appears that high-quality LME49723 op-amps are used in the clean signal path, along with an OPA2156 ultra-low-noise CMOS op-amp at the front end. Compression is implanted with a THAT 4305 Blackmer VCA chip.
Knobs & Switches
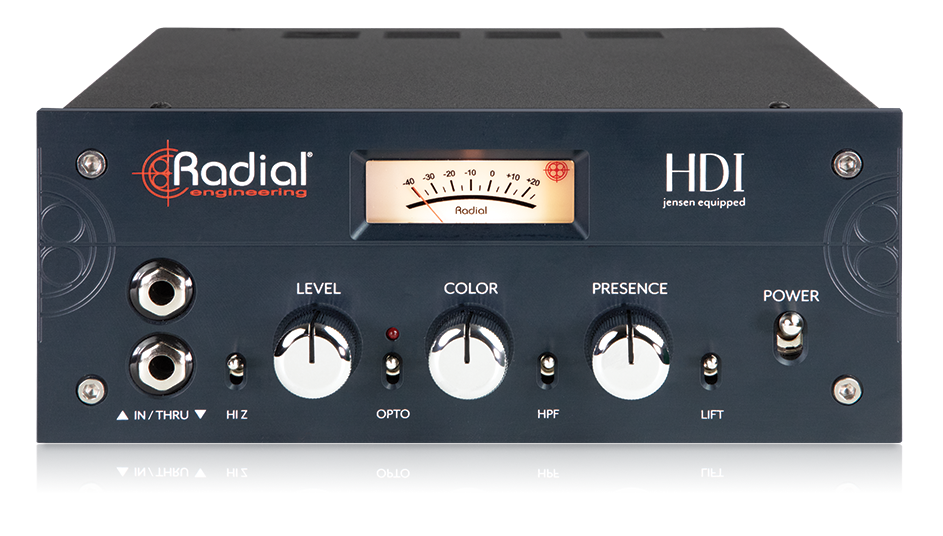
On the front, a backlit meter dominates the top half of the panel, with three very shiny knobs arrayed below, and labelled Level, Color and Presence. They each have quite heavily detented actions. A pair of quarter-inch sockets sits to the left, with the top one accepting the instrument input and the bottom providing a direct Thru (link) output. This top input socket has priority over the rear-panel quarter-inch input, but not over the synth input. A very chunky Power On/Off toggle switch is placed over on the right, and four miniature toggles nestle between and around the three rotary controls. From left to right these engage (when up) a Hi-Z mode, Opto compressor, high-pass filter and ground-lift.
I’m sure the functions of these controls will be quite obvious, but I can add some extra details, starting with the meter, which is a bespoke fast-acting peak meter scaled in dBu, indicating the signal level at the line-level XLR output. The Hi-Z switch raises the default 200kO input impedance up to 2MO, and the Lift switch isolates the input connectors’ audio reference ground from the chassis/mains safety earth to help mitigate ground loops. It’s worth noting, however, that pin 1 of both XLR outputs is always tied directly to the HDI’s chassis (and mains safety earth) — as per the AES recommendations — which might catch some users out.
Both the Opto and high-pass filter switches are three-position types. The filter rolls off frequencies below 40 or 100 Hz (both with a gentle 6dB/octave slope) but only affects signals passing through the Color channel path, and is intended to correct for the LF build-up that occurs with some forms of distortion. Conversely, the Opto compressor only affects signals passing through the ‘clean channel’ path, and the two active switch positions here provide mild and moderate levels of compression, essentially by lowering the compression threshold. The compressor has a fixed 6:1 ratio and applies a maximum of 8dB of gain reduction, as indicated by the brightness of a red LED above the switch.
The two outer rotary controls are also intuitive. The knob marked Level adjusts the input level with a gain range of -3 to +31 dB (with unity gain at the 12 o’clock position), and increasing the input level obviously drives the signal processing circuitry harder, for stronger, more exaggerated effects. The Presence control boosts the mid and high frequencies above about 500Hz, from a flat response when fully counter-clockwise to a maximum of around +12dB shelving boost with a corner frequency of about 5kHz.
Colour Me Good?
It’s hard to imagine an easier product to use. The connectivity, though very straightforward, caters for all eventualities, and the controls are all simple and explicit. I found it easiest to start with all three rotary controls fully counter-clockwise, before advancing the Level control to set the required output level, using the meter as a guide. At this point the sound is clean and accurate, as it would be from most ordinary DI boxes. The Presence control could then be used to boost the high end, but to my ears most clean DI feeds already sound more than bright enough! So the next step is to advance the Color control to dial in some ‘attitude’. The rotation over the first half of the control seemed to gradually introduce the distortion effect up to its full extent — it doesn’t really get crunchier past the half-way mark. The second half of the range then progressively removes most of the clean sound’s contributions, making the distorted character all the more explicit. That makes sense, as the Color knob is a blending control, after all. Of course, the amount, flavour and depth of distortion are affected by the input level, which determines how hard the circuitry is being driven. So there is a lot of interplay between the Level and Color controls, and some juggling of the two is required to find a particularly desired tonality.
The Presence control seemed more useful when there was more distortion in the signal, too, and the high-pass filter switch was very handy for reducing the ‘muddiness’ that can creep in as the amount of distortion is increased. When using relatively high amounts of distortion, the compressor helps to prevent the clean signal’s contribution becoming overwhelmed, by making it denser and more substantial. But it’s also a useful feature in its own right when using the clean path — it can rein in any unruly dynamics.
I’m not a guitar player, but I used the HDI to process both my five-string bass and a Moog Subsequent CV, achieving very attractive effects and sound qualities on both sources. There was plenty of gain available for the bass, and while I’m really not a fan of the 3.5mm socket for higher-level instrument inputs, I can see why Radial decided to use one here. Sadly, it has become a standard in Eurorack products. I found the fact that the synth input overrides the front-panel socket extremely inconvenient and actually ended up connecting the Moog to the rear-panel instrument input instead, and just turning the synth’s output level down a little!
Dialling in a suitable tonality is as much about serendipity as considered control adjustments, and I often just came across a great sound as a result of semi-random twiddling of the Color, Level and Presence controls. But in whichever way a desirable ‘sound’ is discovered, the HDI really is a great instrument interface, and one that brings so much of value to the role of a studio DI box. Of course, Radial’s HDI is considerably more expensive than a typical active DI box, but not when compared to many specialist instrument interfaces from other manufacturers. I’d also argue it’s not expensive given its extraordinary versatility, flexibility, quality and practicality — all of which make it easy to use and to integrate into any recording or live-sound environment. And it’s definitely well worth an audition if you’re looking for a great-sounding instrument interface!